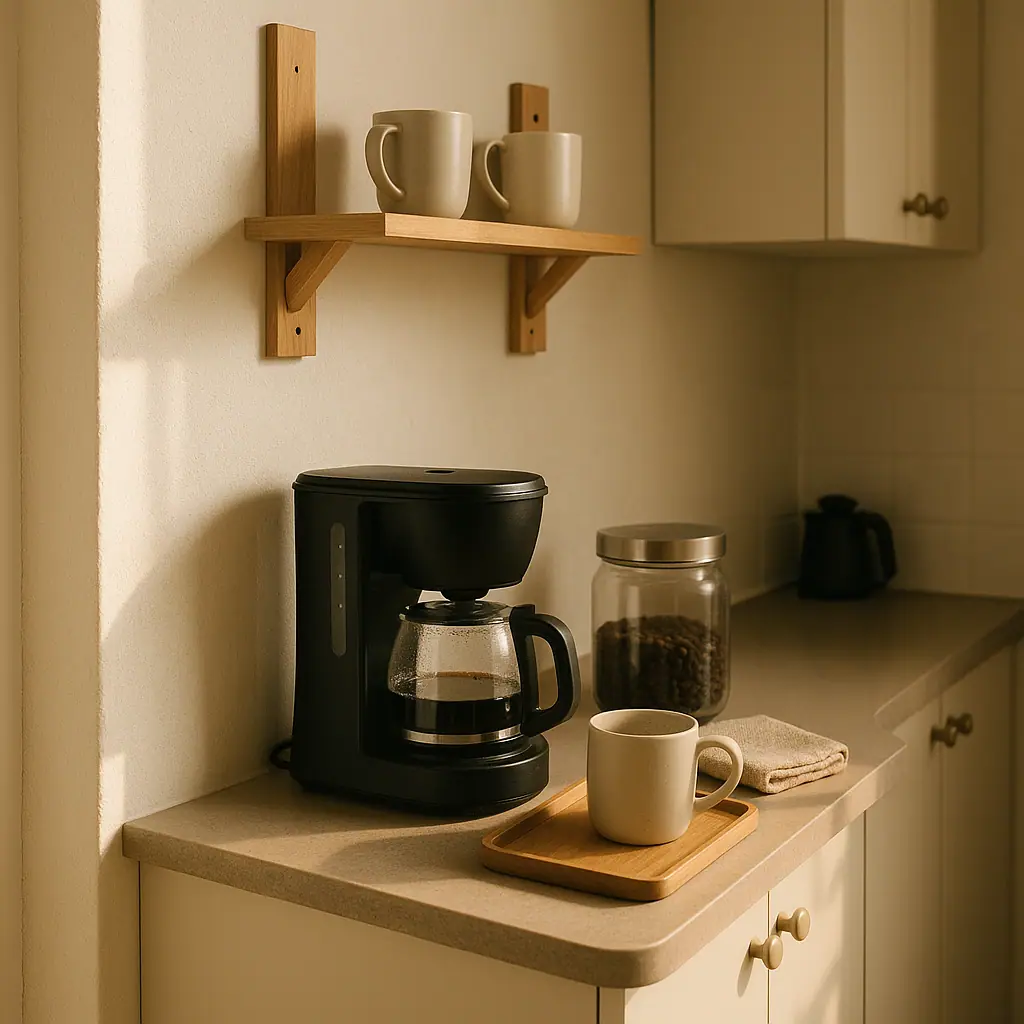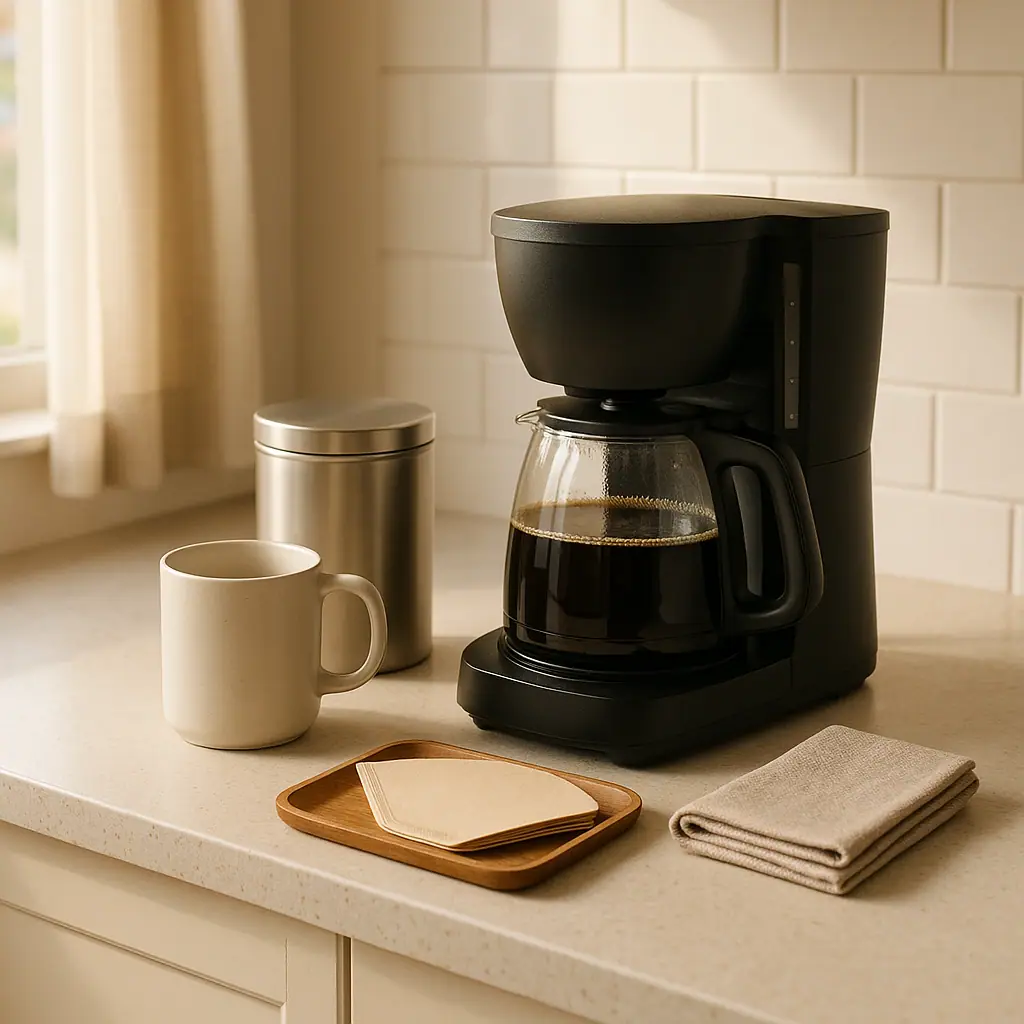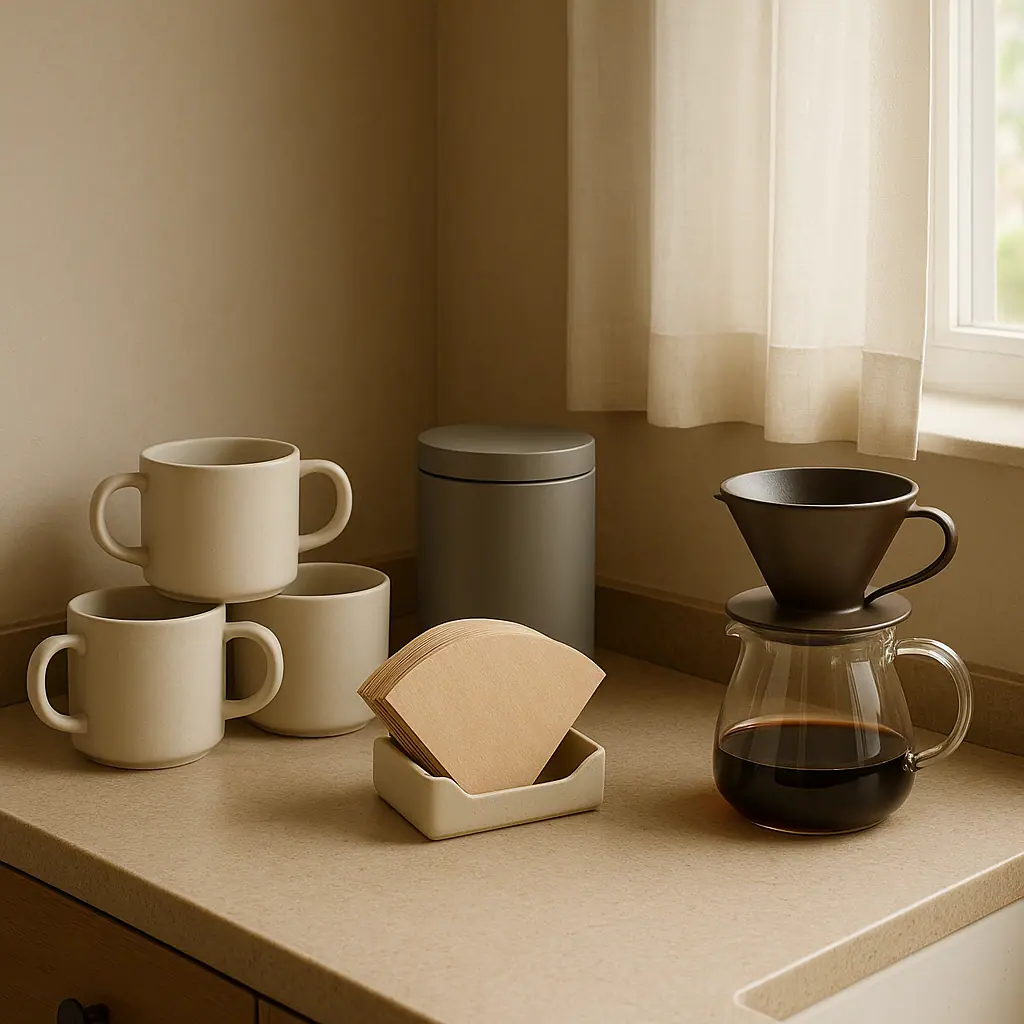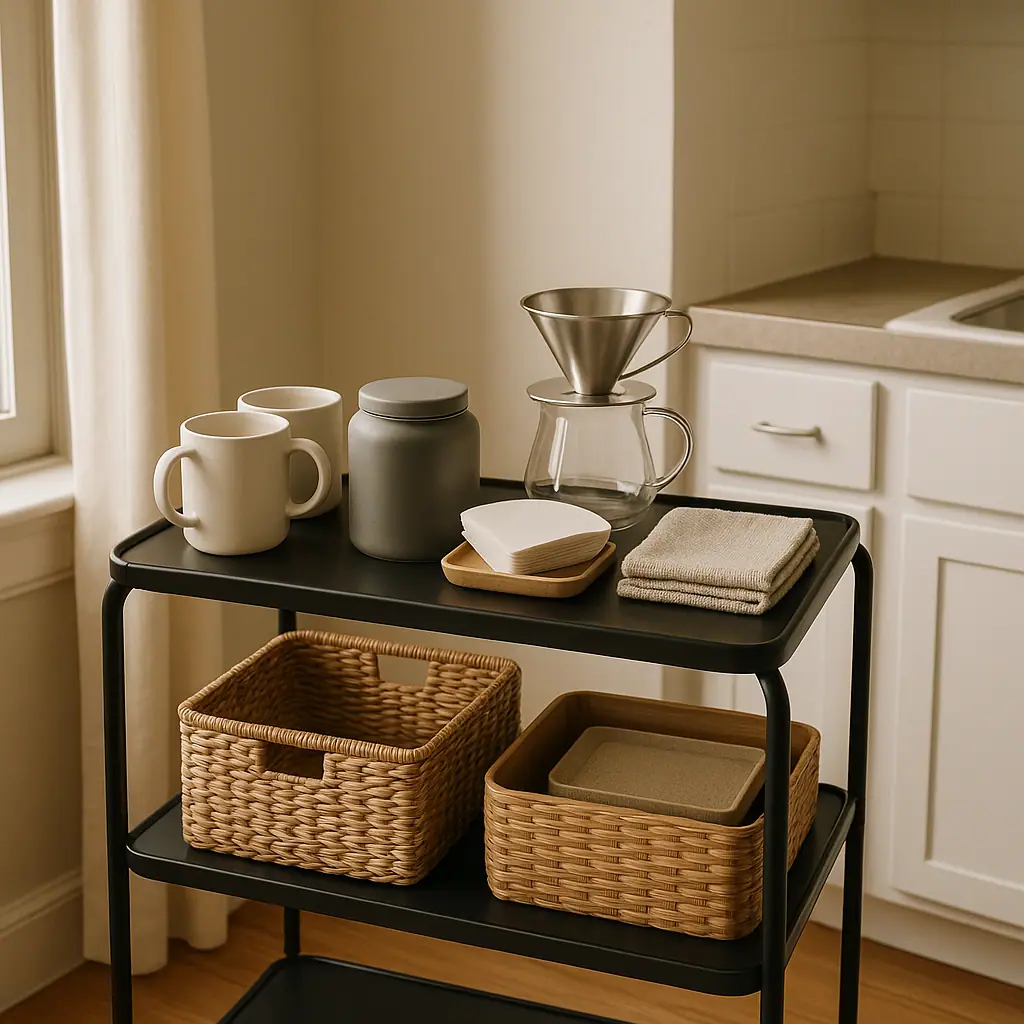
Coffee cart setup ideas for renters should solve a small daily problem without asking you to drill holes, remodel a corner, or fill the kitchen with extra gear. A good cart gives your brewer, coffee, filters, mugs, and cleanup tools a stable home that can move when your lease, layout, or morning routine changes.
The goal is not to copy a cafe counter. The goal is to make one repeatable coffee habit easier: brew, serve, reset, and roll the cart back into place. When the setup is honest about space, outlets, weight, and cleaning, it can feel calm instead of crowded.
This guide walks through a renter-friendly coffee cart setup from the bottom shelf up. You will choose a stable cart, place the heaviest items safely, organize the daily brew path, and avoid upgrades that look nice but make mornings harder.
Why Coffee Cart Setup Ideas for Renters Matter
Renters often work around narrow counters, shared kitchens, limited cabinets, and rules against permanent changes. A cart can help because it creates a dedicated coffee zone without mounting shelves or taking over prep space. It also lets you test a routine before committing to furniture or a larger coffee bar.
Still, a coffee cart needs more thought than a pretty tray. Coffee gear mixes hot water, glass, cords, beans, filters, and wet tools. If the cart wobbles, overloads, blocks an outlet, or stores heavy items too high, it can become annoying or unsafe.
Specialty coffee can get technical quickly, but a cart should start with ordinary consistency. The Specialty Coffee Association's overview of coffee standards is useful background if you want to understand how the coffee world talks about repeatable brewing. For a beginner cart, use that same idea in a simple way: keep the tools you touch every morning easy to find and easy to reset.
Start With the Cart, Not the Decor
The cart is the structure that decides what the setup can safely hold. Before buying jars, baskets, or matching mugs, check the cart's footprint, shelf spacing, wheel quality, handle height, and stated weight capacity. If the product listing or manual gives a load limit, follow that limit and leave margin instead of filling every shelf.
If your kitchen is especially tight, compare the cart against your actual daily walkway. Mark the footprint on the floor with painter's tape for a day. If you bump it while cooking, opening the refrigerator, or carrying dishes, it is too large for that spot.
Pick a stable footprint
A wider base usually feels steadier than a tall narrow cart. Locking wheels are helpful if the cart will sit near a counter while you pour water or use a grinder. Open wire shelves can work for bins and towels, but small items may tip unless you add trays.
Decide whether brewing happens on the cart
Some carts are best for storage only. You can keep coffee, filters, mugs, and tools on the cart, then brew on the counter where the outlet and water access are better. If you plan to brew directly on the cart, make sure the surface is flat, heat-aware, easy to wipe, and not crowded by hanging items.
What to Check First for Coffee Cart Setup Ideas for Renters
Use these checks before you load the cart. They prevent the most common problems: wobble, clutter, cord strain, and too many items in the active zone.
- Lease and wall rules: avoid permanent mounting unless your lease clearly allows it. Keep the cart useful without relying on wall anchors or drilled hooks.
- Outlet location: place electric brewers and grinders where cords do not stretch across a walkway, sink area, or hot surface.
- Weight placement: store heavy items low and light daily items higher. That keeps the cart easier to roll and less top-heavy.
- Water path: decide where you will fill the kettle, reservoir, or carafe so you are not carrying open water across clutter.
- Heat and steam clearance: check manufacturer instructions for coffee makers, kettles, and grinders before placing them under cabinets or tight shelves.
- Cleanup plan: give wet tools, used grounds, towels, and drips a destination before brewing starts.
For a broader counter-based setup, DailyBrewNook's guide to small coffee bar ideas can help you compare whether a cart, tray, shelf, or cabinet zone fits your kitchen better.
How to Build a Coffee Cart Setup Step by Step
Build the cart in layers. The lower shelf should carry weight and backups. The middle shelf should hold supplies. The top should stay clear enough for the part of the routine you actually do there.
- Place the cart empty: roll it into the planned spot and test the walkway, cabinet doors, refrigerator door, and nearby outlet before adding anything.
- Load heavy items first: put extra beans, a water-safe bin, backup filters, spare mugs, or a compact appliance on the lowest shelf.
- Create a daily supply shelf: keep the current coffee, filters, scoop or scale, and one small towel together so the morning path is obvious.
- Keep the top shelf edited: leave room for a mug, dripper, tray, or brewer. If the top is already full before brewing, the cart is acting as storage, not a station.
- Add a washable tray: use it for wet spoons, a dripper after rinsing, a grinder brush, or tiny spills. A tray is easier to clean than the whole cart.
- Contain small items: use one bin for filters, one jar or clip for current coffee, and one small cup for tools. Avoid five decorative containers that hide what you need.
- Test three mornings: brew normally and note the first repeated annoyance. Move one item at a time instead of redesigning the cart every day.
If your setup overlaps with an existing station, review coffee station essentials and keep only the items that directly support the first cup.
Smart Storage Zones for a Renter Coffee Cart
A cart works best when every shelf has a job. Without zones, it quickly becomes a rolling junk drawer for mugs, snacks, unopened coffee, papers, and tools from other parts of the kitchen.
Top shelf: active brewing
Use the top shelf for the items touched during the current brew. That might be a dripper, mug, kettle landing spot, timer, scoop, or brewer. Leave negative space for movement. Beginners often underestimate how much room they need to pour water, remove a filter, or set down a wet lid.
Middle shelf: daily supplies
The middle shelf can hold filters, the current coffee bag or canister, a small scale, a grinder brush, napkins, and one or two daily mugs. Keep anything moisture-sensitive away from steam, sink spray, and wet towels.
Bottom shelf: backups and weight
The bottom shelf is best for backup filters, unopened coffee, a milk frother you do not use daily, extra mugs, or a bin for cleaning cloths. Heavy pieces belong here. The federal Anchor It campaign focuses on furniture tip-over prevention, and its reminder to think about stability is worth applying broadly around home storage; their consumer resource at AnchorIt.gov is a good place to review general anti-tip awareness, especially in homes with children.
Common Coffee Cart Mistakes to Avoid
The first mistake is putting the coffee maker on a cart just because it looks tidy. If the cart is far from water, too low to use comfortably, or not near a safe outlet, store supplies on the cart and brew on the counter instead.
The second mistake is building upward without checking stability. Tall mug trees, stacked jars, glass canisters, and heavy grinders can make a narrow cart feel unbalanced. Keep the center of gravity low and avoid hanging breakable items where they can swing or catch on clothing.
The third mistake is forgetting the reset. Coffee grounds, drips, stale towels, and half-open bags make a cart feel messy fast. A renter-friendly cart should be easy to wipe, easy to move for sweeping, and simple enough to reset after each brew.
Pros and Cons
Works without permanent changes
A cart can create a coffee zone without drilling, mounting shelves, or changing the apartment layout.
Moves with your routine
You can roll it closer for setup, tuck it away after brewing, or adjust it when the kitchen layout changes.
Clarifies daily supplies
Dedicated shelves make it easier to separate active brewing tools from backups and occasional accessories.
Can become unstable if overloaded
A narrow cart with heavy items high up can wobble, especially when rolled or bumped in a small kitchen.
May not suit electric brewing
Some carts are better for storage than active brewing if outlets, cords, heat, or water access are awkward.
A Simple Coffee Cart Checklist
- Does the cart fit the walkway? Open nearby doors and walk past it with a mug before loading it.
- Are the wheels lockable or steady? A cart that moves while you pour is not a calm brewing surface.
- Are heavy items low? Keep grinders, extra mugs, and backup supplies on the bottom shelf when possible.
- Is the top shelf partly clear? Leave space for pouring, setting down a mug, and handling wet tools.
- Are cords out of traffic? Do not stretch cords across sinks, walkways, hot surfaces, or places where they can snag.
- Can you reset in one minute? Close coffee, toss grounds, wipe the tray, and return tools before the cart rolls away.
When to Get Extra Help
Ask your landlord or property manager before drilling, mounting, or changing anything attached to the wall. Even small hardware can matter in a rental agreement, and removable storage is usually easier to undo.
Check the manual for any electric brewer, kettle, grinder, or frother before placing it on a cart. If you are unsure about outlet load, cord placement, steam clearance, or a cart that wobbles under weight, get help from a qualified person rather than guessing.
Frequently Asked Questions
What should I check first before setting up a coffee cart?
Start with the cart's real footprint, stability, and outlet access. If it blocks a walkway or needs a stretched cord, choose a different spot before adding coffee gear.
How often should I review the cart setup?
Review it after the first three mornings, then once a month. Move items that you never touch and fix any repeated annoyance, such as wet tools without a tray or filters stored too far away.
Can I brew coffee directly on a rolling cart?
Sometimes, but only if the cart is stable, the surface is appropriate, the wheels stay still, and the cord path is safe. Many renters use the cart for supplies and brew on the counter instead.
Can I change the setup later?
Yes. That is one of the advantages of a renter-friendly cart. Test the routine, move one item at a time, and keep the setup easy to undo when your kitchen or lease changes.
Final Thoughts
Coffee cart setup ideas for renters work best when they stay practical: stable cart, clear shelves, safe cord path, daily supplies within reach, and a quick reset after brewing.
Start with the smallest setup that supports your real first cup. Once it works for a normal week, add one improvement at a time. A good coffee cart should make the morning feel calmer, not make the kitchen feel more crowded.