A coffee grind size chart is useful because it gives beginners a starting point before they change beans, buy another brewer, or blame the coffee maker. Grind size affects how quickly water pulls flavor from ground coffee, so the same beans can taste balanced, bitter, sour, weak, or muddy depending on how fine or coarse the grind is.
The goal is not to memorize technical terms. The goal is to match your grind to your brewing method, taste the cup, and make one small adjustment at a time. That simple habit makes home coffee easier to repeat.
This guide uses plain language for common home methods: French press, cold brew, drip coffee, pour-over, moka pot, and AeroPress-style brewers. Use it as a calm starting chart, then adjust based on what you taste in your own kitchen.
Why This Matters
Water extracts flavor from small coffee particles faster than large particles. If the grind is too fine for a long brew, the cup may taste harsh, dry, or bitter. If the grind is too coarse for a short brew, the cup may taste thin, sour, or underdeveloped.
The Specialty Coffee Association coffee standards are a useful reference for serious brewing terminology and testing, but beginners do not need a lab setup to improve. You can start by choosing the right grind range for your brewer and changing only one variable at a time.
Start With the Brewing Method
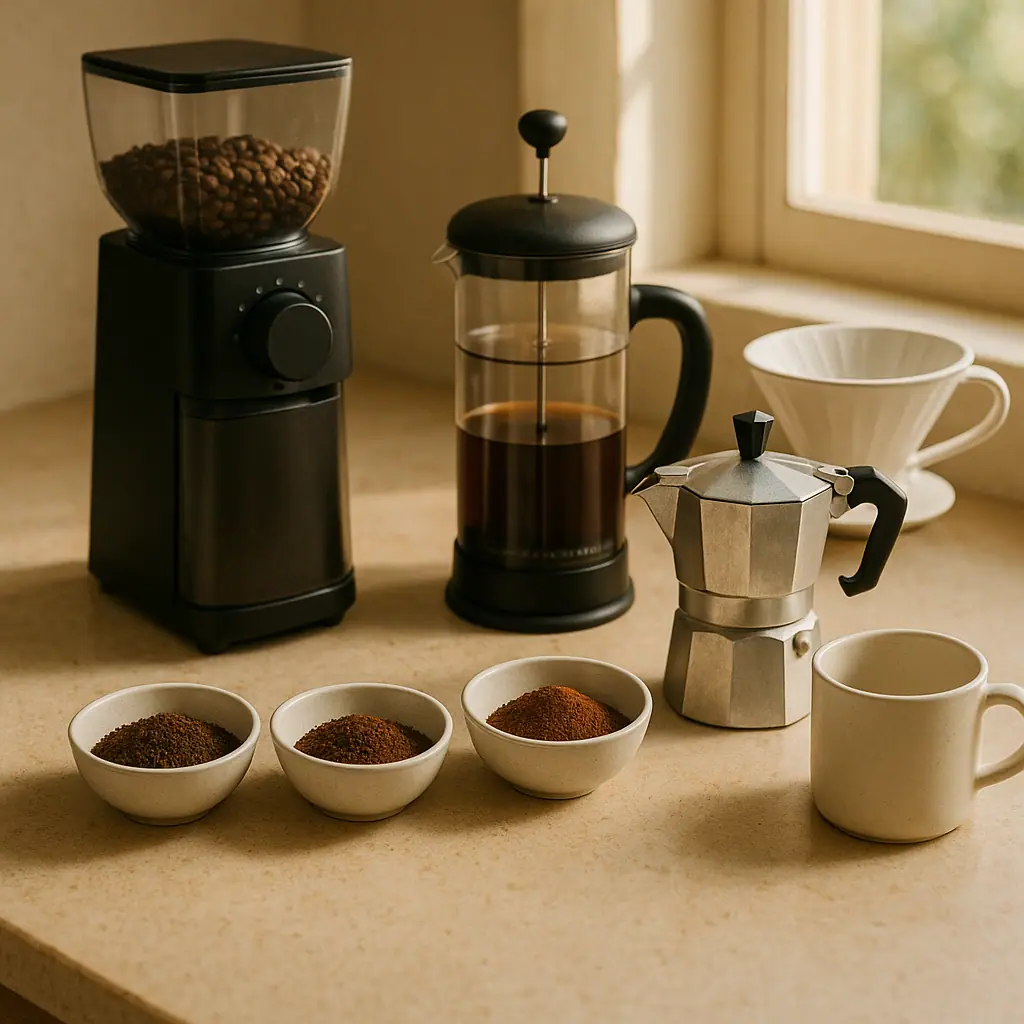
Most home coffee confusion starts when a grind meant for one method gets used in another. A French press and a moka pot both make strong coffee, but they do not want the same texture. A cold brew jar and a pour-over cone both use water over grounds, but the contact time is completely different.
Before adjusting your grinder, name the brewer you are using today. Then choose a starting texture from the chart below. If your grinder has numbers instead of words, treat the labels as relative: lower numbers are usually finer and higher numbers are usually coarser, but every grinder is different.
Quick Texture Guide
- Extra coarse: Chunky pieces, closer to coarse sea salt. Useful for long cold brew steeping.
- Coarse: Similar to kosher salt. A common starting point for French press.
- Medium-coarse: Rough sand. Helpful for some pour-over recipes and longer immersion methods.
- Medium: Regular sand. A safe starting point for many drip coffee makers.
- Medium-fine: Finer sand. Often useful for cone pour-over and AeroPress-style brews.
- Fine: Table salt texture. Common near moka pot range, but avoid powdery dust.
What to Check First
Use this coffee grind size chart as a starting map, not a permanent rule. Beans, roast level, filter shape, water flow, and batch size can all shift the best setting slightly.
Home Brewing Grind Size Chart
- Cold brew: Extra coarse to coarse. Start coarse so the final drink filters cleanly and does not become heavy with sediment.
- French press: Coarse. This helps reduce grit and gives the long steep time room to work.
- Drip coffee maker: Medium. If the basket drains too slowly or tastes bitter, go a little coarser.
- Flat-bottom pour-over: Medium to medium-coarse. This can keep the bed from clogging while still giving enough extraction.
- Cone pour-over: Medium-fine to medium. If water rushes through, go finer; if it stalls, go coarser.
- AeroPress-style brewer: Medium-fine to fine, depending on recipe time. Shorter recipes often use finer grinds.
- Moka pot: Fine to medium-fine. Aim finer than drip but not as powdery as espresso.
How to Adjust Grind Size Step by Step
Once you have a starting point, use taste and brew behavior to decide the next change. Do not change the beans, ratio, water temperature, and grind all at once. That makes the result impossible to understand.
- Set one baseline. Use the same coffee dose, water amount, and brewer for two or three cups.
- Watch the brew. Notice whether water drains too fast, pools too long, or leaves a muddy bed.
- Taste before judging. A fast brew may taste sour or weak. A slow brew may taste bitter, dry, or heavy.
- Move one setting. If the cup is sour or thin, try one step finer. If it is bitter or slow, try one step coarser.
- Write the setting down. Keep a small note by the grinder so you can repeat the cup tomorrow.
This method works even if your grinder settings are not perfectly labeled. You are building a practical map for your own grinder, your own brewer, and your own beans.
Common Grind Size Mistakes to Avoid
The biggest mistake is treating a chart like a fixed law. A chart gives you a useful starting range, but the final cup still depends on your brewer and taste.
- Using espresso-fine coffee in a drip machine: The basket can drain slowly and the cup can taste harsh.
- Using coarse French press grounds for pour-over: Water may pass through too quickly, leaving the cup weak.
- Changing too many things together: If the coffee improves or gets worse, you will not know why.
- Ignoring grinder retention: Old grounds stuck in the grinder can mix with fresh coffee and make flavor less clear.
- Expecting blade grinder precision: Blade grinders create mixed particle sizes, so results may be less repeatable.
Pros and Cons
Clear starting point
A chart helps beginners choose a reasonable setting before troubleshooting flavor.
Easier repeatability
Writing down your grind range makes a good cup easier to make again.
Better problem solving
You can connect bitter, sour, weak, or muddy cups to a likely adjustment.
Not every grinder matches labels
One grinder's medium may be another grinder's medium-fine, so tasting still matters.
Beans change over time
Freshness, roast level, and storage can shift the best setting slightly.
A Simple Checklist
Use this quick check when your cup tastes off.
- Is the brew bitter, dry, or slow? Try one step coarser.
- Is the brew sour, sharp, or thin? Try one step finer.
- Is there too much grit? Try coarser grounds or improve filtering.
- Did you switch beans? Keep the same setting first, then adjust after tasting.
- Did you clean the grinder? Brush out stale particles before judging a new setting.
When to Get Extra Help
If your grinder manual gives recommended ranges, use those as your first reference. Manufacturers know how their own burr spacing or setting numbers behave. If your coffee maker has a manual with grind guidance, check that too before assuming the brewer is the problem.
For more advanced brewing study, SCA resources can help define terms and testing ideas, but most beginners can improve with a notebook, one grinder adjustment, and a consistent recipe. Do not guess wildly. Make a small change, taste it, and keep the setting that gets you closer.
Frequently Asked Questions
What grind size should I check first?
Start with your brewing method. French press usually starts coarse, drip starts medium, pour-over starts medium to medium-fine, and moka pot starts fine to medium-fine.
How often should I review my grind setting?
Review it when you change beans, change brewing method, clean the grinder deeply, or notice the same bad flavor two cups in a row.
What should I do if I am not sure?
Return to a medium setting for drip-style brewing or the manual's suggested range, then adjust one step at a time based on taste.
Can I undo a grind change later?
Yes. Grinder settings can be changed back, which is why it helps to write down the setting that gave you the best cup.
Final Thoughts
A coffee grind size chart is not about making home brewing complicated. It is about giving yourself a steady first move. Match the grind to the brewer, taste the result, and adjust in small steps.
If you remember only one thing, make it this: bitter or slow often means go coarser, while sour or fast often means go finer. That one habit can make your daily coffee nook calmer, cleaner, and much easier to repeat.