Cold brew coffee at home is a good beginner project because it asks for patience more than expensive gear. You do not need a cafe tower, a special counter, or a complicated recipe to make a smoother chilled cup. You need a clean jar or brewer, coarsely ground coffee, water, time, and a simple plan for filtering and storing the finished drink.
The beginner mistake is treating cold brew like hot coffee with ice. Cold brew extracts slowly in cool water, so the routine feels different: less heat, more waiting, and more attention to cleanup. Once that difference makes sense, the setup becomes easy to repeat.
This guide keeps the method practical. You will learn what to check first, how to brew a small batch, how to avoid muddy or stale flavors, and how to decide whether a dedicated cold brew maker is actually worth it later.
Why This Matters
Cold brew can be forgiving, but it is not automatic. A jar left too long in the refrigerator, a grind that is too fine, or a messy filter step can turn a promising batch into something dull, gritty, or hard to use during the week.
The good news is that beginners can control the most important parts with ordinary kitchen habits. Keep the batch size modest, use a coarse grind, filter patiently, and store the coffee cold in a clean container. Those choices matter more than chasing a perfect gadget on the first try.
For readers who want a deeper technical comparison, the Specialty Coffee Association has published research on how cold brew differs from chilled hot brew. For a home beginner, the useful takeaway is simple: cold brew is its own method, so judge it by a repeatable routine rather than by hot coffee rules.
Start With the Basic Cold Brew Setup
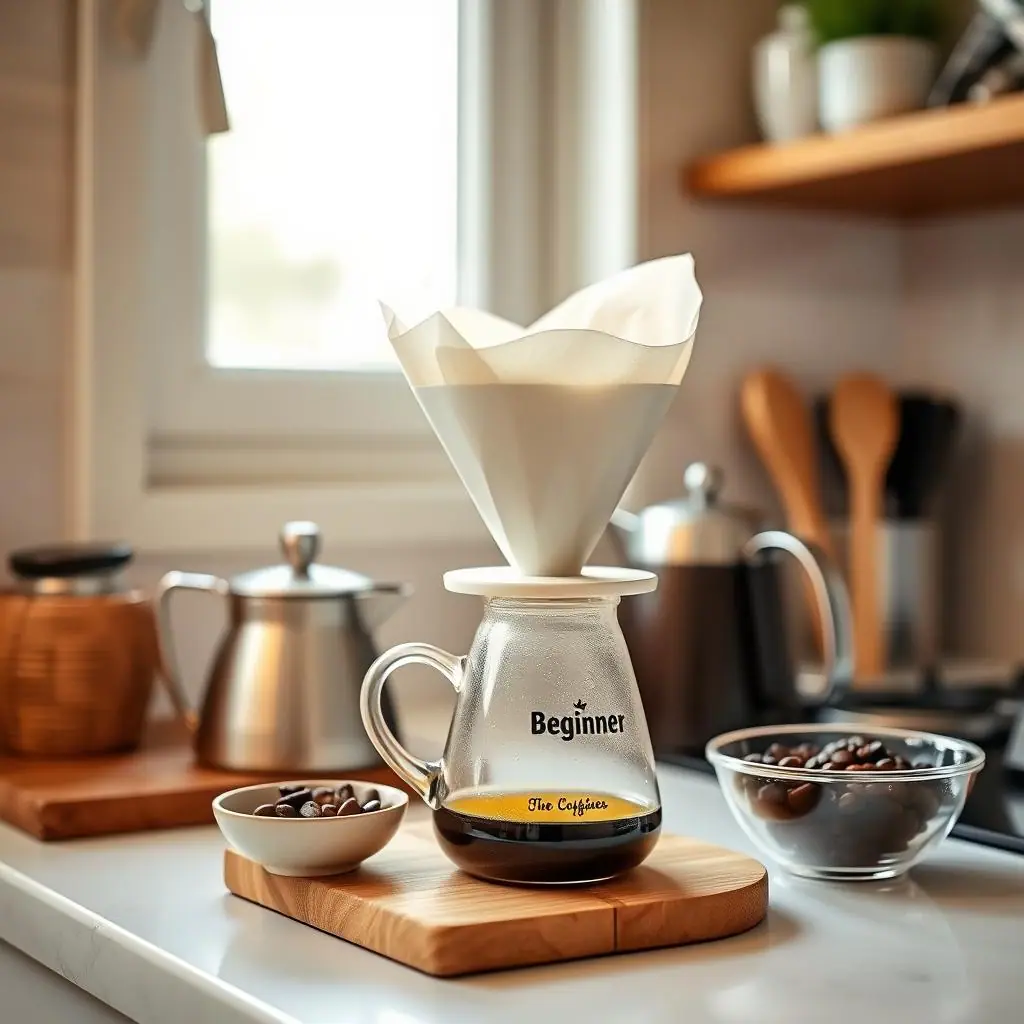
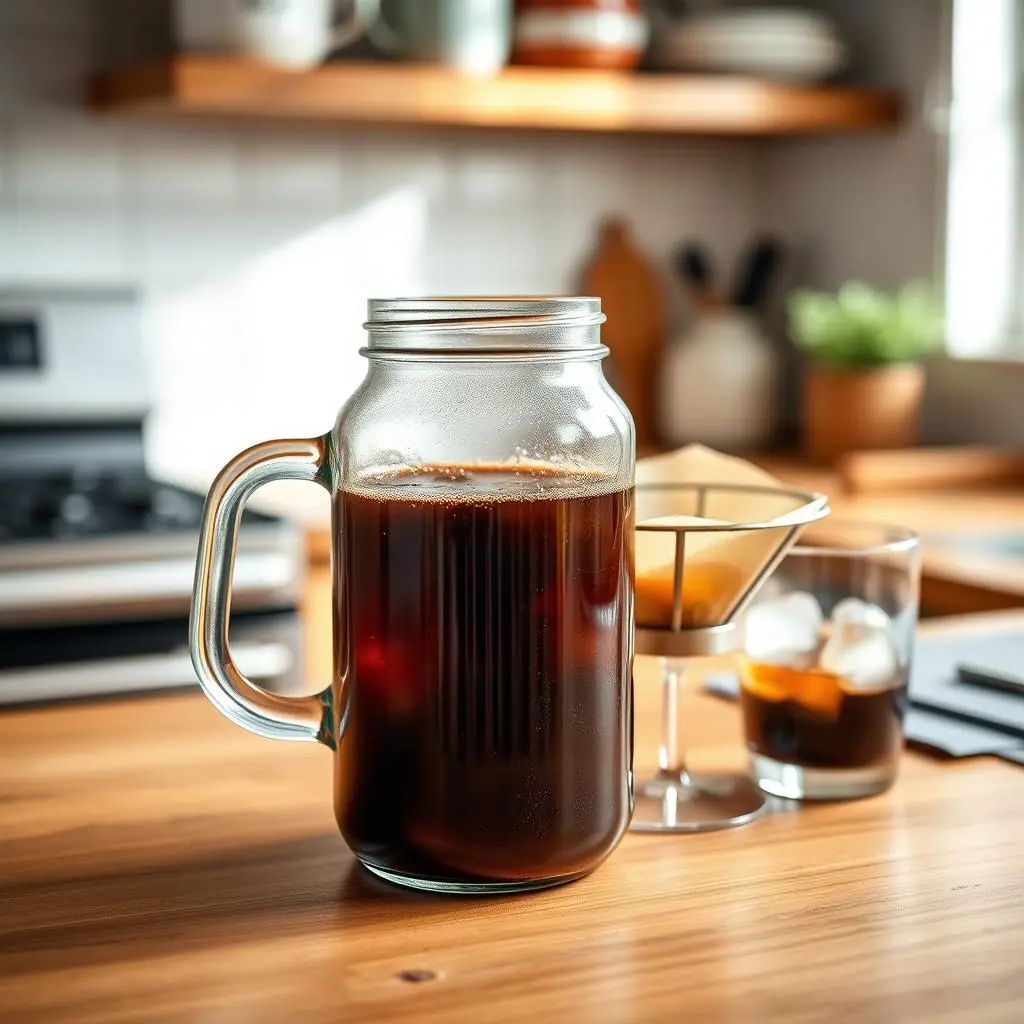
A beginner setup can be very plain. Use a clean wide-mouth jar, a spoon, filtered or good-tasting water, coarsely ground coffee, and a way to strain the finished brew. A fine mesh strainer plus a paper filter, cloth filter, or purpose-made cold brew bag can work as long as the final cup is not gritty.
If you already own a French press, you can use it as a cold brew vessel, but do not press aggressively or expect the built-in screen to remove every small particle. Many people still prefer a second pass through a paper filter for a cleaner texture.
Choose the right batch size
Start with enough for two or three servings, not a full week. Small batches are easier to filter, easier to store, and less frustrating if the first version is stronger or weaker than you like.
Use a coarse grind
Coarse coffee is easier to filter and less likely to create a muddy mouthfeel. If you buy pre-ground coffee, ask for a coarse cold brew or French press grind when that option is available.
What to Check First for Cold Brew Coffee at Home
Before brewing, check the parts of the routine that can quietly create problems. Cold brew is slow, so a small mistake can sit in the jar for many hours before you notice it.
- Container cleanliness: wash and dry the jar or brewer before starting so old coffee oils do not carry into the new batch.
- Grind size: choose coarse grounds to reduce sediment and make filtering less frustrating.
- Water taste: if your tap water tastes unpleasant, the cold brew will likely carry that flavor too.
- Storage plan: have a clean bottle or jar ready before filtering so the finished coffee goes straight into the refrigerator.
- Serving style: decide whether you want a stronger concentrate to dilute or a milder ready-to-drink batch.
How to Make Cold Brew Step by Step
Use this beginner workflow for a small first batch. The exact strength can be adjusted later, but the routine should stay calm and repeatable.
- Add coarse coffee: place the grounds in a clean jar or cold brew maker. Use a consistent scoop or scale amount so you can repeat the batch.
- Add cool water: pour water over the grounds and stir gently until all coffee is wet. Avoid whipping air into the mixture.
- Cover and wait: cover the container and let it steep in the refrigerator or another cool safe place according to your chosen recipe.
- Filter slowly: strain the coffee without squeezing fine particles through the filter. If the cup is gritty, filter it a second time.
- Store cold: move the finished brew into a clean sealed container and refrigerate it promptly.
- Taste before changing: pour a small serving over ice and dilute with water or milk if needed. Write down one adjustment for the next batch.
Common Cold Brew Mistakes to Avoid
Most cold brew problems come from making the process either too casual or too complicated. The method is simple, but it still benefits from clean gear, steady measurements, and a patient filter step.
- Grinding too fine: fine grounds can make filtering slow and leave a cloudy, sludgy texture.
- Making too much at once: a large batch is harder to troubleshoot and may sit longer than your routine needs.
- Squeezing the filter: forcing liquid through can push sediment into the finished coffee.
- Skipping the storage container: filtering into a random pitcher can create spills, stale flavors, or poor refrigerator storage.
- Expecting hot coffee flavor: cold brew often tastes rounder and less sharp, so adjust it as its own drink.
A Simple Cold Brew Checklist
Use this quick checklist before starting the next batch. It keeps the routine practical instead of turning it into a science project.
- Clean jar ready? Old coffee oils can make a fresh batch taste stale.
- Coarse grind chosen? Coarse grounds make filtering easier for beginners.
- Small batch planned? Start with a test size until you know your preferred strength.
- Filter path ready? Set up the strainer, filter, and storage bottle before the brew is finished.
- One note saved? Record whether the batch was too strong, too weak, too gritty, or just right.
Pros and Cons
Low-pressure method
Cold brew gives beginners time to prepare, filter, and adjust without managing hot water during a busy morning.
Easy to batch
A small jar can cover more than one serving, which helps when mornings are rushed.
Simple gear path
You can start with common kitchen items and upgrade only if the routine becomes a habit.
Requires planning ahead
Cold brew is not a same-morning fix unless a batch is already waiting in the refrigerator.
Filtering can be messy
Fine grounds, rushed straining, or poor containers can make cleanup more annoying than brewing.
When to Get Extra Help
If your cold brew tastes flat or stale after several careful batches, check the coffee itself before buying a new brewer. Older beans, poor storage, or a grind that is too fine can make the method seem worse than it is.
If you use a dedicated cold brew maker, read the manufacturer's instructions for capacity, filter placement, cleaning, and dishwasher limits. Those details vary by product, and following the actual manual is more useful than guessing from a picture.
Frequently Asked Questions
Do I need a cold brew maker?
No. A clean jar and careful filtering can teach the basic routine before you decide whether a dedicated brewer is worth the space.
Should cold brew be made in the refrigerator?
Many home routines use the refrigerator because it keeps the batch cold and contained. Follow your recipe and keep storage clean.
Why is my cold brew gritty?
The grind may be too fine, the filter may be too loose, or the brew may need a second slow filter pass before storage.
Can I dilute cold brew after brewing?
Yes. If the batch is strong, dilute each serving with water, milk, or ice before changing the next recipe.
Final Thoughts
Cold brew coffee at home works best when the setup stays small, clean, and repeatable. Start with a modest batch, use coarse coffee, filter patiently, and store the finished brew in a sealed container you will actually use.
Once the first batch teaches you your preferred strength and texture, the next improvement can be simple: a better filter, a fresher bag of beans, or a clearer refrigerator storage habit. That is enough to make cold brew feel like a calm routine rather than another gadget project.