A moka pot can make a bold, satisfying cup at home without an espresso machine, but it rewards a calmer routine than many beginners expect. The goal is not to force cafe-style espresso from a stovetop brewer. The goal is to learn how the pot works, avoid harsh flavors, and build a repeatable morning habit.
If your first cup tastes bitter, metallic, or too strong, that does not mean the brewer is wrong for you. It usually means one part of the setup needs attention: water level, grind size, heat, timing, or cleanup.
This guide keeps the process practical. You will learn what to check first, how to brew step by step, and when to make small adjustments instead of buying new gear.
Why This Matters
Moka pot coffee sits in a useful middle ground. It is stronger and more concentrated than most drip coffee, but it is not the same as true espresso from a pump machine. That distinction helps beginners set fair expectations for flavor, texture, and routine.
Because the brewer uses pressure from heated water, small setup choices matter. Overfilling the base, packing the basket tightly, using too fine a grind, or letting the pot sputter too long can all push the cup toward bitterness.
For a visual overview of the basic brewing sequence, Starbucks at Home's moka pot guide is a helpful reference to compare with your own pot's instructions. Your manufacturer's safety directions should still come first, especially for water level, heat source, and gasket care.
Start With the Basic Moka Pot Setup
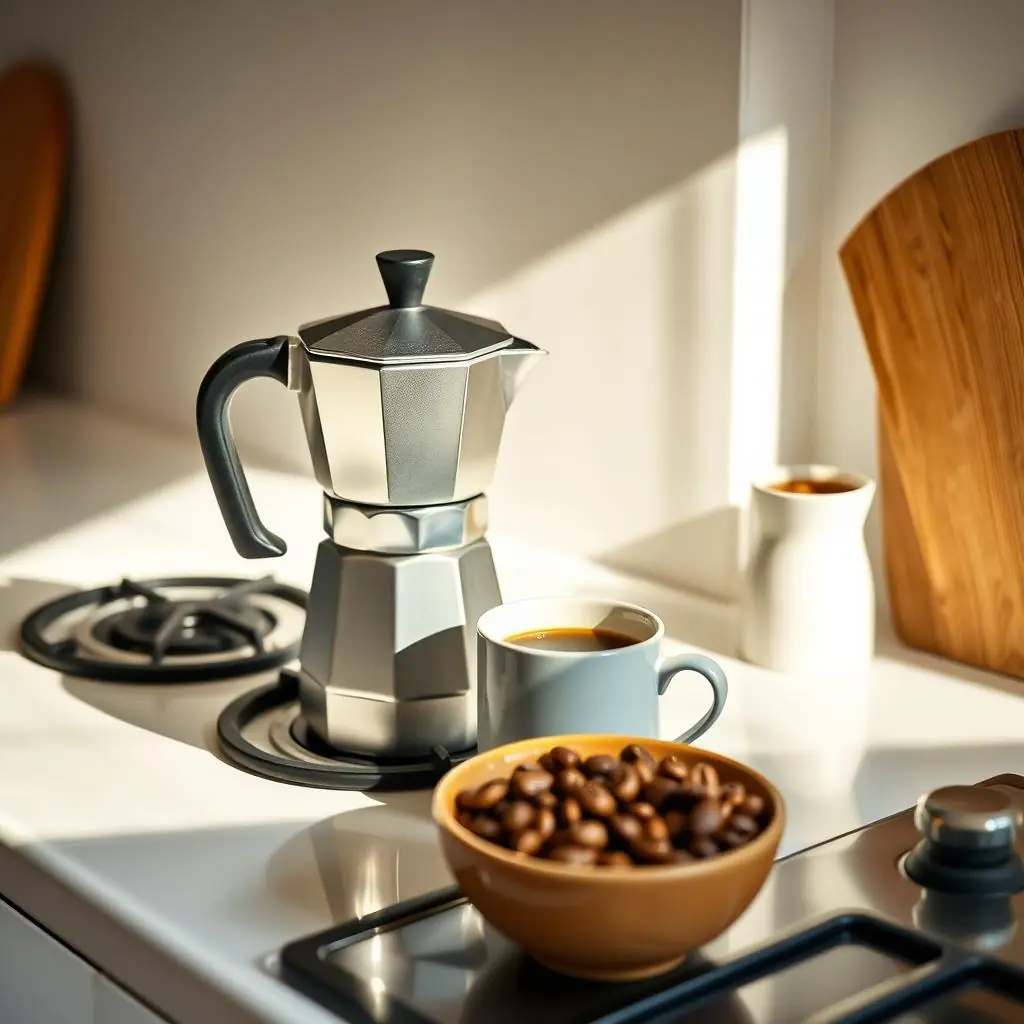
A moka pot has three main parts: a lower water chamber, a coffee basket, and an upper collection chamber. Water heats in the bottom, moves through the coffee, and collects above as a concentrated brew.
Before brewing, make sure the gasket is seated properly, the filter plate is clean, and the pot screws together smoothly. If the seal is worn, loose, or dirty, the pot may hiss from the side or brew unevenly.
Use coffee ground slightly coarser than espresso and finer than typical drip. If you only have pre-ground coffee, choose a moka-style grind when available. Very fine espresso grind can clog the basket and make the process harder to control.
What to Check First for Moka Pot Coffee at Home
Beginners often try to fix moka pot coffee by changing everything at once. A better approach is to check the few variables that create most of the difference.
Water level
Fill the lower chamber according to your pot's instructions, usually up to the valve area without covering the safety valve. This matters for both flavor and safe operation.
Coffee basket
Fill the basket evenly, then level the grounds with a gentle touch. Do not press the coffee down. A packed basket can slow flow and make the cup taste harsh.
Heat level
Use moderate heat rather than blasting the pot. A slower, steadier brew gives you more control and reduces the chance of burnt or sputtered flavors.
How to Brew Moka Pot Coffee Step by Step
Use this workflow as a calm starting point. Once you can repeat it, adjust one detail at a time based on taste.
- Check the pot: confirm the gasket, filter plate, basket, and chambers are clean and correctly assembled.
- Add water: fill the lower chamber to the correct level for your model, keeping the safety valve clear.
- Add coffee: fill the basket evenly with moka-suitable ground coffee, then level it without tamping.
- Assemble carefully: screw the upper and lower chambers together firmly, but avoid forcing the threads.
- Heat gently: place the pot on moderate heat and stay nearby. The coffee should flow steadily, not explode into the top chamber.
- Stop before the harsh finish: when the flow turns pale and starts sputtering, remove the pot from heat. Pour soon after brewing.
Common Moka Pot Mistakes to Avoid
Most beginner moka pot mistakes come from treating the brewer like an espresso machine or a drip coffee maker. It is neither, and that is part of its charm.
- Tamping the basket: pressure builds naturally. Packing the coffee can restrict flow.
- Using maximum heat: high heat can rush the brew and make the end of the extraction taste burnt.
- Ignoring the safety valve: keep it clear and follow the manufacturer's fill line guidance.
- Letting it sputter too long: the noisy finish is usually a sign to stop, not a sign to keep extracting.
- Cleaning with leftover oils: old coffee residue can make new cups taste stale, even when your technique is fine.
A Simple Moka Pot Checklist
Use this checklist when your cup feels unpredictable. It keeps troubleshooting small and useful.
- Valve clear? Do not cover the safety valve with water.
- Basket level? Fill evenly, but do not compact the grounds.
- Moderate heat? Choose control over speed.
- Stopped on time? Remove from heat as the brew turns pale and sputtery.
- Clean after cooling? Rinse and dry parts so stale oils do not build up.
Pros and Cons
Strong coffee without a large machine
A moka pot makes a concentrated cup with a small footprint and a simple stovetop routine.
Affordable learning tool
It teaches grind, heat, timing, and cleanup without requiring a full espresso setup.
Reliable once dialed in
After you learn your pot, the same steps can produce a dependable daily cup.
Easy to overheat
Too much heat can push the flavor toward bitterness before a beginner knows what changed.
Not true espresso
The cup can be rich and intense, but it will not match pump espresso pressure or crema.
When to Get Extra Help
If the pot leaks steam from the side, the gasket looks cracked, or the safety valve seems blocked, stop and inspect the parts before brewing again. Replacement gaskets and filters are common maintenance items, and your specific model's manual should guide the right size.
If the coffee still tastes unpleasant after several careful brews, ask a local roaster for a moka-friendly grind range. A small grind adjustment can matter more than a new brewer.
Frequently Asked Questions
Is moka pot coffee the same as espresso?
No. It is concentrated stovetop coffee, but it does not use the same pressure as a pump espresso machine.
Should I use hot or cold water in the base?
Both routines exist. For beginners, the safer answer is to follow your pot's manual first and keep the heat moderate.
Why does my moka pot coffee taste bitter?
Common causes include too much heat, too fine a grind, packed grounds, or letting the pot sputter for too long.
Can I make less than a full moka pot?
Most moka pots work best when filled for their designed size. Check your model's instructions before changing water or coffee amounts.
Final Thoughts
Moka pot coffee at home becomes easier when you treat it as a repeatable routine, not a test of coffee expertise. Keep the valve clear, fill the basket gently, use moderate heat, and stop before the noisy finish takes over the cup.
Once those basics feel natural, your next improvement can be small: a better grind match, a fresher bag of beans, or a cleaner shutdown after brewing. That is enough to make the morning cup noticeably better without making the routine fussy.