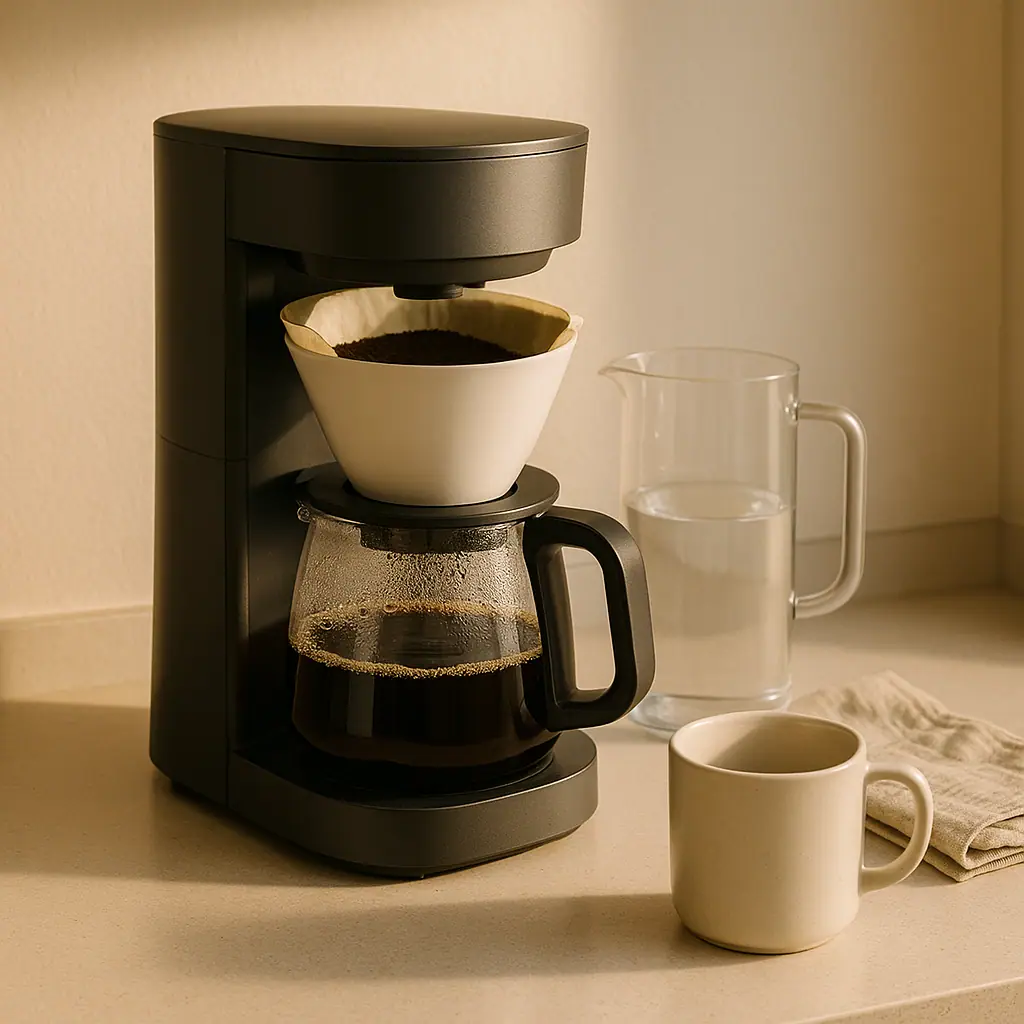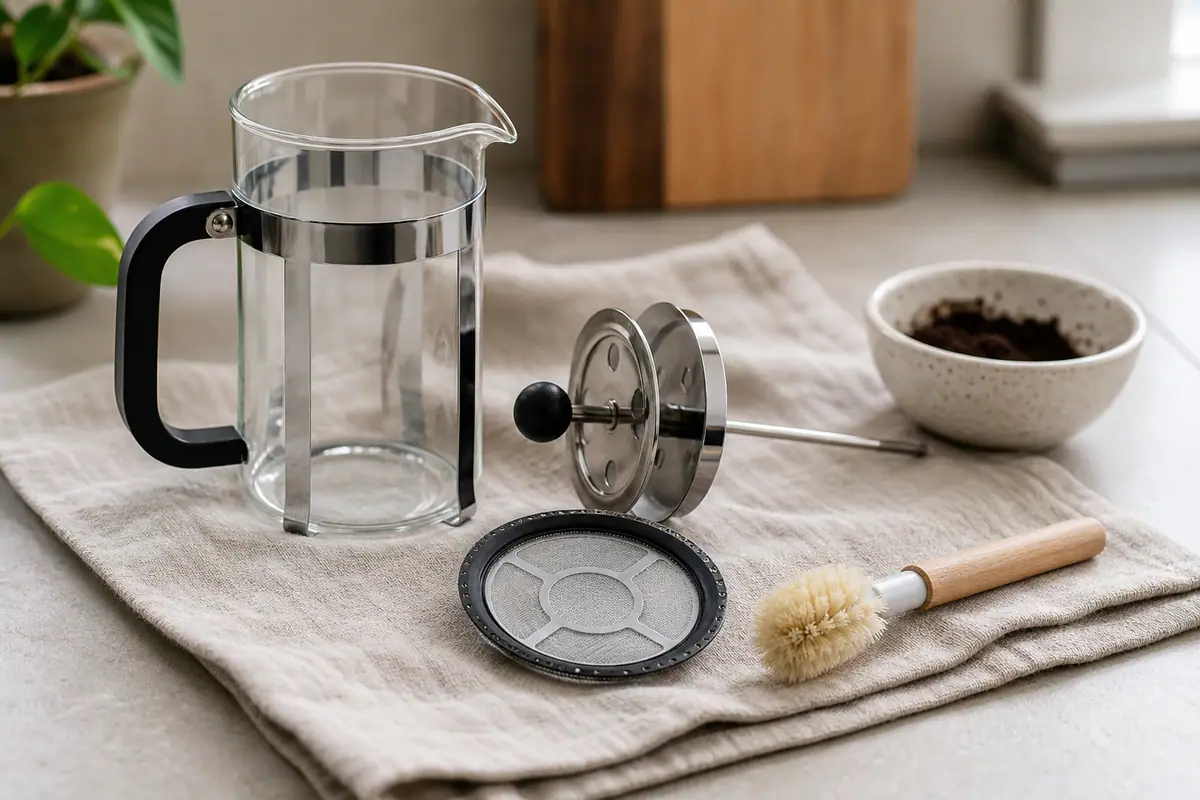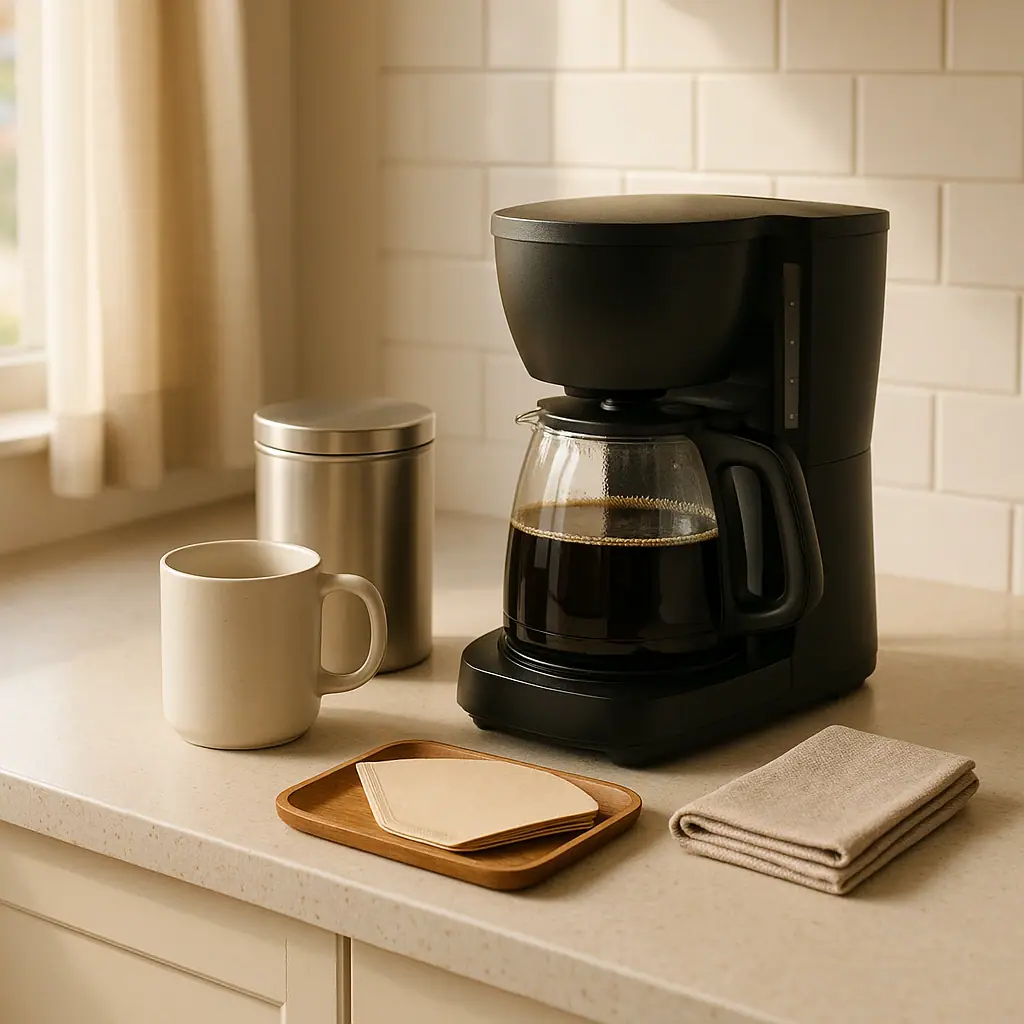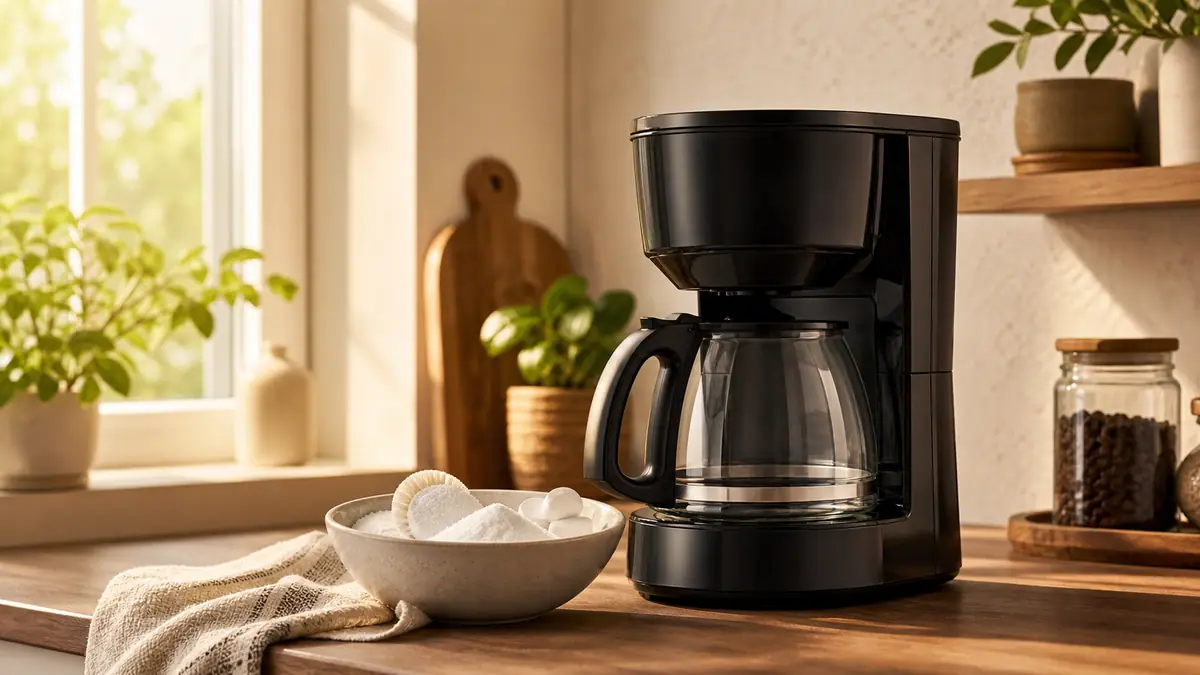
Descaling coffee maker routines can feel more serious than ordinary cleaning, especially if you are new to home brewing. The good news is that descaling is not a complicated ritual. It is a careful way to remove mineral buildup from the water path so the machine can keep moving water smoothly.
The caution is simple: every coffee maker is a little different. A drip machine, pod brewer, grind-and-brew machine, and espresso-style appliance may all use different clean cycles, water amounts, or recommended products. Start with the manual when you have it, then use general advice only as a support.
Why Descaling Coffee Maker Care Matters
Cleaning and descaling are related, but they are not the same job. Cleaning removes coffee oils, grounds, and stains from parts you can usually see. Descaling targets mineral deposits left behind by water, especially in homes with harder water or machines used every day.
KitchenAid's coffee maker care guidance explains that descaling may use a commercial descaling agent or vinegar for some drip coffee makers, and that product directions or the user manual should guide the amounts and cycle steps: how to clean and descale a coffee maker. That is the most important beginner lesson: do not assume one recipe fits every machine.
For coffee quality more broadly, the Specialty Coffee Association points readers toward coffee standards, research, and education resources at sca.coffee. At home, you do not need cafe-level maintenance, but clean water flow and clean equipment make it easier to repeat a good cup.
Start With the Manual and the Machine Type
Before descaling a coffee maker, identify what kind of machine you have. A basic drip brewer is usually the simplest. A pod brewer may require a specific button sequence. A grind-and-brew machine may have grinder parts that should not be soaked. Espresso-style machines often have more exact instructions.
Check the signs first
Do not descale just because the machine looks dusty on the outside. Look for clues that affect the water path: slower brew times, gurgling sounds, a clean indicator, white mineral marks near the reservoir, or coffee that suddenly tastes flat even after normal cleaning.
Separate cleaning from descaling
Wash the carafe, basket, lid, and reusable filter before descaling. If old grounds or oils are still sitting in the machine, the descale cycle is doing two jobs at once. A clean starting point makes the deeper maintenance easier to judge.
What to Check First for Descaling a Coffee Maker
A calm setup prevents most mistakes. Clear the counter, empty the filter basket, remove coffee grounds, and make sure the carafe or container is large enough to catch a full cycle. If the brewer uses a water filter, check whether the manual says to remove it before descaling.
- Product compatibility: use the descaler, tablet, or vinegar method only if your manual allows it.
- Correct dilution: follow the descaling product label or the manufacturer's instructions instead of guessing stronger amounts.
- Ventilation and spills: keep the machine on a stable counter and wipe splashes quickly, especially around buttons and seams.
- Fresh rinse water: plan time for one or more plain-water cycles after the cleaning solution cycle.
- No coffee in place: descale with an empty basket and no grounds or paper filter unless the manual says otherwise.
How to Handle Descaling a Coffee Maker Step by Step
Use these steps as a beginner framework for a standard drip coffee maker, then adjust to the exact manual for your appliance.
- Read the care section: confirm whether your machine allows vinegar, recommends a commercial descaler, or has a named clean cycle.
- Empty removable parts: remove used grounds, rinse the basket, and make sure the carafe is clean.
- Prepare the solution: mix only the amount recommended by the manual or product label. Stronger is not automatically better.
- Run the clean or brew cycle: let the solution move through the machine without coffee in the basket.
- Pause only if instructed: some machines have a programmed cycle, while others simply run like a normal brew.
- Rinse thoroughly: run fresh-water cycles until the smell and residue of the descaling solution are gone.
- Wash contact parts again: clean the carafe, lid, and brew basket with warm, soapy water before brewing coffee.
The rinse step matters. If you rush it, the next pot may carry a sour smell or cleaner taste. Give the machine enough clean water cycles to feel neutral again.
Pros and Cons of Descaling at Home
Restores smoother water flow
Removing mineral buildup can help a slow brewer move water more consistently again.
Keeps maintenance predictable
A simple monthly reminder for daily-use machines is easier than waiting for a major clog.
Supports better daily flavor
When cleaning and descaling are both handled, stale residue and mineral buildup are less likely to interfere with the cup.
Instructions vary by machine
A vinegar method that works for one drip brewer may be wrong for another model or machine type.
Rinsing takes time
Descaling is not a one-minute task because the machine needs fresh-water cycles before it is ready for coffee again.
Common Descaling Mistakes to Avoid
The first mistake is using a stronger solution because the machine seems very clogged. Stronger acid can leave odor, damage parts, or create more rinsing work. Follow the label and manual instead.
The second mistake is skipping the plain-water cycles. Even when the carafe looks clear, the internal water path still needs a proper rinse. The third mistake is treating espresso machines, pod machines, and drip machines as if they all use the same process.
Also avoid abrasive pads, bleach, dish soap in the water reservoir, or random cleaners that are not meant for coffee equipment. The inside of the brewer touches water you will later drink, so caution is worth the extra minute.
A Simple Descaling Checklist
Use this quick checklist before you start.
- Manual checked: the descaling product or vinegar method is allowed for this machine.
- Basket empty: no coffee grounds, paper filter, or pod is in place.
- Carafe ready: the container can hold the full cycle without overflowing.
- Filter removed if needed: the water filter is handled according to the manual.
- Rinse time planned: you have time for fresh-water cycles after the solution cycle.
- Next brew delayed: you will not make coffee until the machine smells and runs clean.
When to Get Extra Help
Pause and check official support if the machine leaks, makes electrical smells, fails to complete a clean cycle, or keeps showing the clean indicator after repeated descaling. Those problems may need manufacturer guidance rather than another round of solution.
You should also get model-specific help if the machine has a built-in grinder, a milk system, a plumbed water line, or a water filter you are not sure how to remove. Guessing can turn a small maintenance task into a bigger repair problem.
Frequently Asked Questions
What should I check first before descaling?
Check the manual or support page for your exact model. Confirm the approved descaling product, water amount, clean cycle, and whether any water filter should be removed.
How often should I descale a coffee maker?
For a daily drip coffee maker, monthly is a practical starting point, especially with hard water. Follow the machine's clean light or manual if it gives a different schedule.
Can I use vinegar in every coffee maker?
No. Some drip coffee makers allow vinegar, but other machines recommend a specific descaler. Use vinegar only when the manufacturer says it is acceptable.
What if I still smell vinegar or cleaner after rinsing?
Run another fresh-water cycle and wash the carafe, lid, and basket again. Do not brew coffee until the machine smells neutral and the water runs clear.
Final Thoughts
Descaling a coffee maker is easiest when you treat it as careful routine maintenance. Clean the visible coffee parts first, follow the manual, use the right solution strength, and leave time for thorough rinsing.
Your next step can be small: find the manual or model support page, check the approved descaling method, and set a reminder for a day when you are not rushing the morning cup.