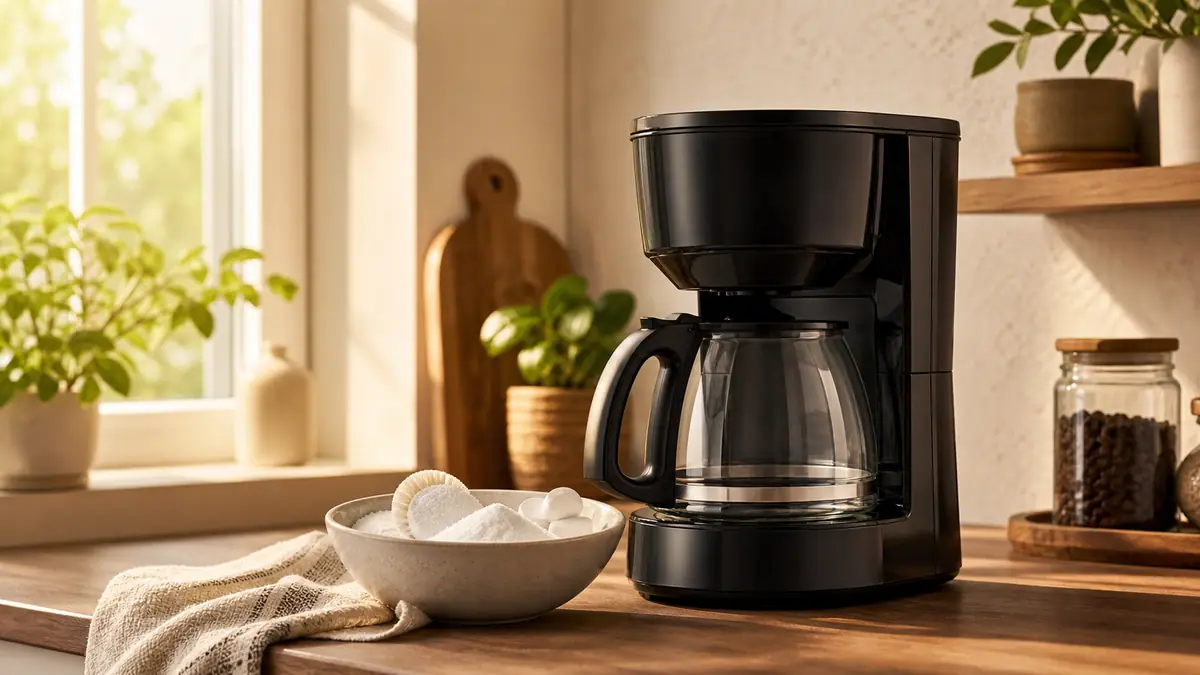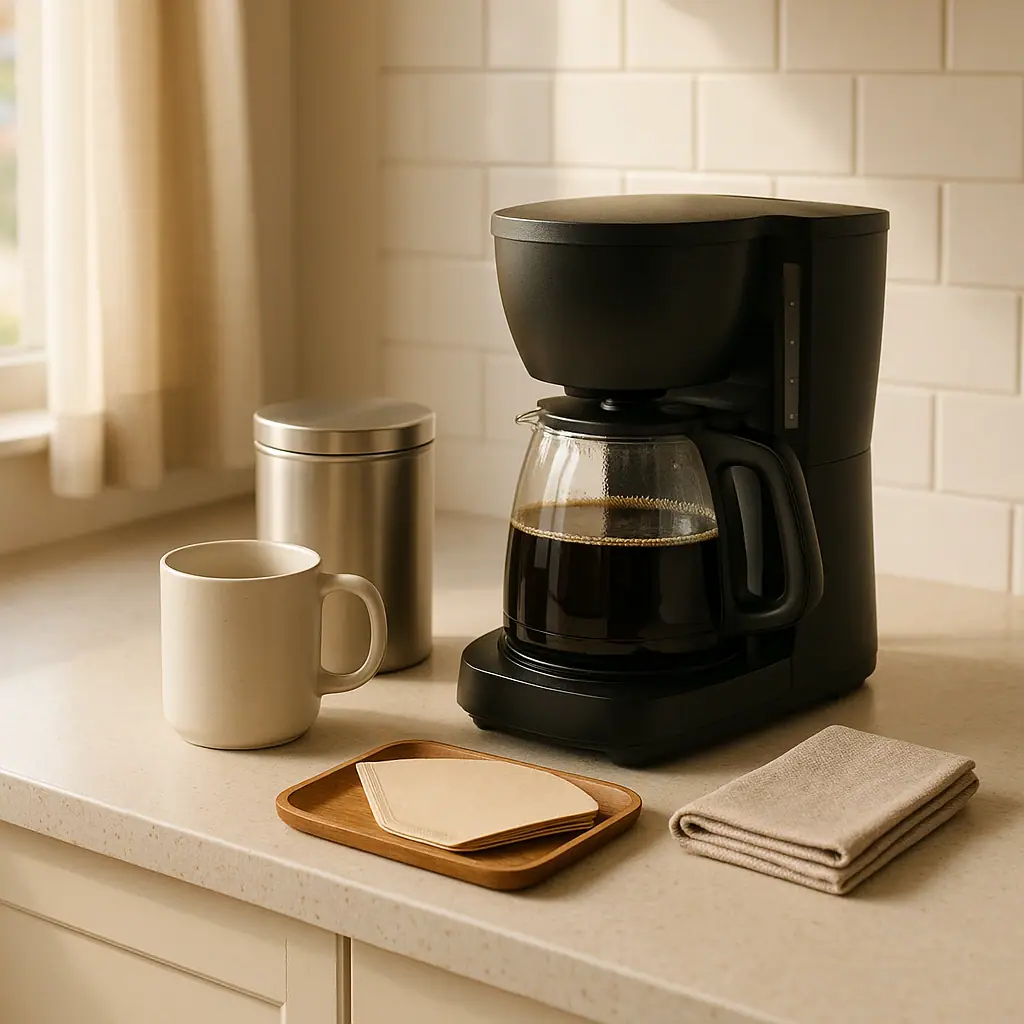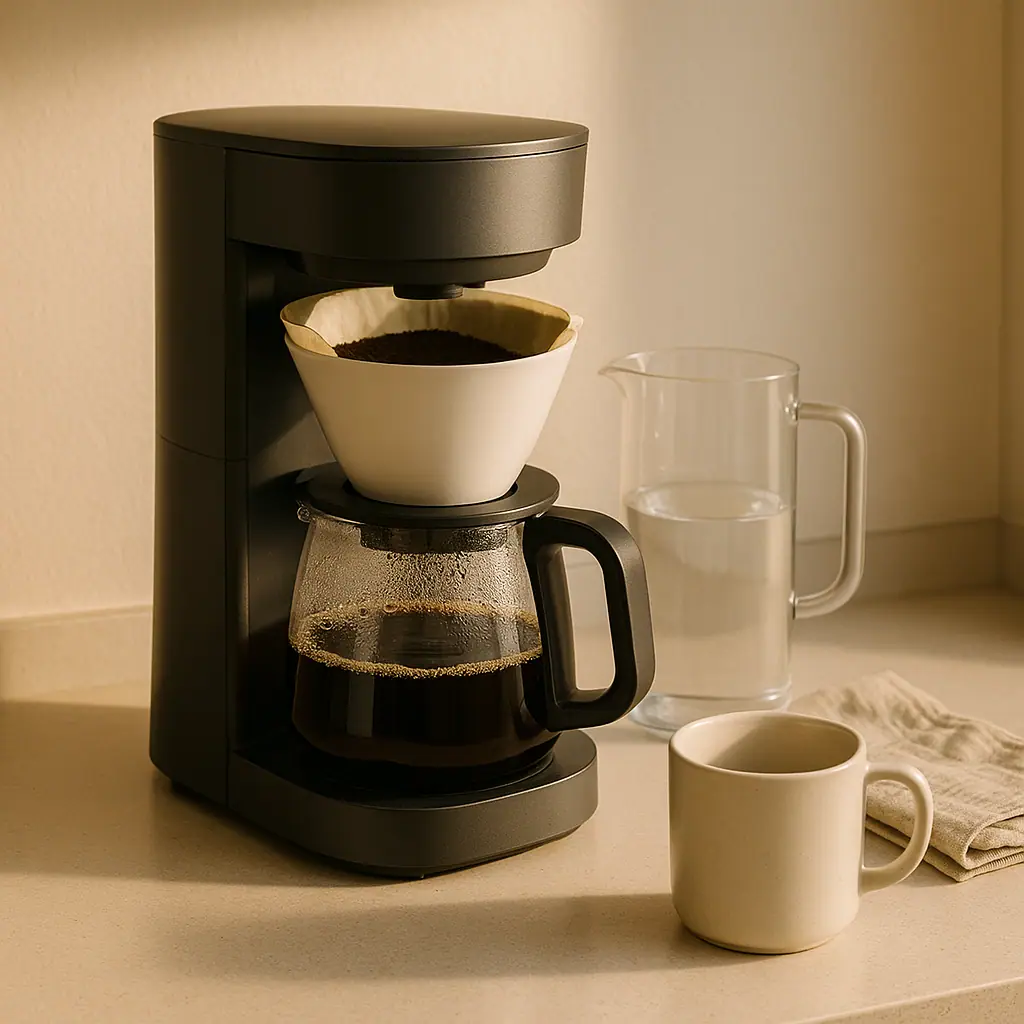
Knowing how often to clean a coffee maker at home makes the morning routine calmer. You do not need a complicated checklist or a cabinet full of special products. You need a few repeatable habits: rinse the parts that touch coffee after each brew, wash removable pieces often, and descale the machine before mineral buildup starts slowing it down.
The exact schedule depends on how often you brew, your water hardness, the style of machine, and what the manufacturer says in the manual. Still, most home coffee drinkers can use a simple rhythm: quick care after every use, a fuller wash weekly, and descaling about monthly when the machine is used daily or when the clean indicator appears.
Why Coffee Maker Cleaning Matters
A coffee maker handles warm water, coffee oils, fine grounds, and moisture. Those are normal parts of brewing, but they can leave residue behind. Old coffee oils can taste stale. Loose grounds can collect in the basket. Water minerals can build inside the machine and make the brewer slower or less consistent.
KitchenAid's cleaning guidance separates routine cleaning from descaling and notes that daily cleaning handles splashes, oils, and easy-to-remove residue, while descaling removes mineral buildup from water: how to clean and descale a coffee maker. That distinction is useful because many beginners treat every cleaning task as the same job.
Good cleaning will not fix every brew problem, but it removes one common source of bitter, stale, or inconsistent coffee. It also makes the coffee station easier to reset because the carafe, basket, and counter are not waiting for a big weekend scrub.
Start With a Simple Cleaning Rhythm
The easiest rhythm is not based on perfection. It is based on what you can repeat before the coffee maker becomes unpleasant. Think of cleaning in three layers: after each brew, once a week, and deeper descaling when the machine needs it.
After every brew
Empty the used grounds, rinse the brew basket or reusable filter, wash the carafe if it held coffee for a while, and leave lids or compartments open when the manual allows it. This keeps moisture from being trapped and prevents yesterday's coffee smell from becoming part of tomorrow's cup.
Once a week
Give removable parts a more careful wash in warm, soapy water, or use the dishwasher only when the manual says those parts are dishwasher-safe. Wipe the exterior, warming plate, showerhead area, and counter around the machine. If milk, sweeteners, or flavored coffee are part of your routine, be extra consistent because sticky residue spreads quickly.
How Often to Clean a Coffee Maker at Home
For a daily drip coffee maker, use this practical schedule as a starting point. Adjust it if the manual says otherwise, if your water is very hard, or if the machine has a clean indicator light.
- After each use: empty grounds, rinse the basket, wash or rinse the carafe, and let removable pieces dry.
- Every few days: wipe the outside, warming plate, handle areas, and any spots where coffee splashes collect.
- Weekly: wash removable pieces thoroughly and check the lid, basket, reusable filter, and water reservoir area.
- Monthly for daily use: descale if your machine recommends it, if the clean light appears, or if you notice slower brewing.
- After vacations or long gaps: rinse the reservoir, wash removable parts, and run a plain-water cycle before brewing coffee.
The Specialty Coffee Association publishes general coffee resources at sca.coffee, and its broader focus on brewing quality is a helpful reminder: clean equipment is part of a repeatable cup. You do not need professional cafe habits at home, but you do need gear that is not holding old residue.
Cleaning and Descaling Are Different Jobs
Cleaning removes coffee residue from parts you can usually see and touch. Descaling removes mineral deposits inside the water path. Both matter, but they are not interchangeable.
If your carafe looks stained, the basket smells stale, or the reusable filter feels oily, that is a cleaning problem. Warm water, mild dish soap, a soft brush or cloth, and patience usually solve it. If the machine brews slowly, steams oddly, leaves water behind, or shows a clean indicator, that may be a descaling problem.
Use the descaling method recommended by your coffee maker's manual. Some brands allow a vinegar solution. Others recommend a specific descaling product. Do not guess with harsh cleaners, bleach, or abrasive tools. Coffee makers have seals, tubing, coatings, and plastic parts that can be damaged by the wrong product.
How to Handle Coffee Maker Cleaning Step by Step
Use this beginner-friendly process for a normal drip coffee maker. If your brewer is a pod machine, espresso-style machine, or grind-and-brew model, check the manual because the water path, grinder, and removable pieces may need different care.
- Unplug when appropriate: let the machine cool before wiping hot surfaces or removing parts.
- Remove the grounds: toss used paper filters or empty the reusable filter. Do not let wet grounds sit overnight.
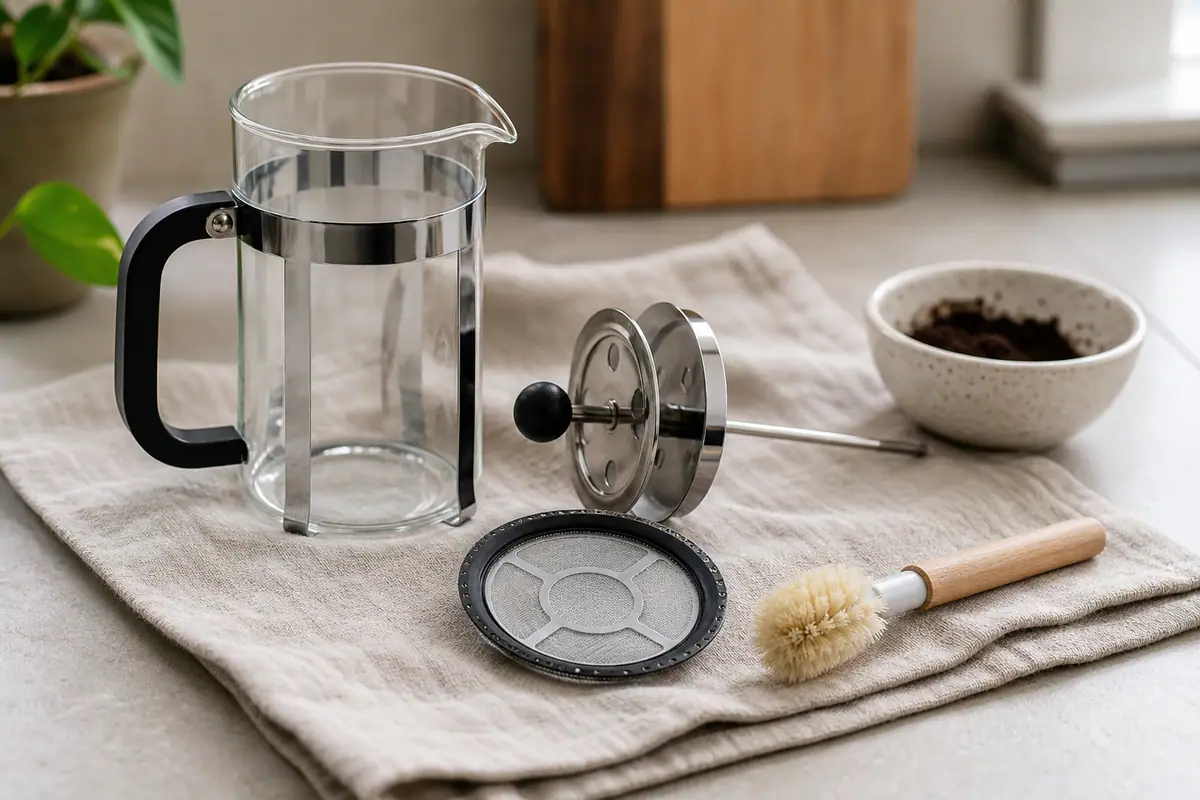
- Wash removable parts: clean the carafe, lid, brew basket, and reusable filter with warm, soapy water unless the manual gives different directions.
- Wipe the machine: use a damp cloth on the exterior, warming plate, and splash areas. Do not submerge the brewer body.
- Let pieces dry: leave parts open to air-dry before reassembling when possible.
- Schedule descaling: run the clean or descale cycle as directed by the manual, then rinse thoroughly with fresh water cycles.
This routine is intentionally modest. A coffee maker that gets a small reset often is easier to live with than one that waits for a dramatic deep clean.
Common Coffee Maker Cleaning Mistakes to Avoid
The first mistake is only rinsing the carafe and ignoring the brew basket. Grounds and oils collect there quickly, especially with a reusable filter. The second mistake is closing the machine while everything is still wet. Trapped moisture can make the machine smell stale.
The third mistake is descaling with the wrong product or wrong strength. More acid is not automatically better. Follow the product label and the machine manual. The fourth mistake is forgetting the water reservoir area. You do not need to scrub aggressively, but you should notice if water sits, smells odd, or leaves visible mineral marks.
Pros and Cons of a Simple Cleaning Schedule
Freshness is easier to maintain
Small daily cleaning habits reduce stale coffee oils before they become a flavor problem.
The routine stays realistic
A quick rinse, weekly wash, and monthly descale is easier to repeat than a long checklist every morning.
Problems become easier to spot
When the machine is usually clean, slow brewing, odd smells, or visible buildup stand out sooner.
Manuals still matter
Some machines have specific cleaning cycles, parts, or products, so a general schedule is only a starting point.
Hard water changes the timing
Homes with more mineral-heavy water may need descaling more often than the average kitchen.
A Simple Coffee Maker Cleaning Checklist
Use this checklist as a calm reset after brewing or before the week begins.
- Grounds removed: no wet filter or grounds left in the basket overnight.
- Carafe washed: coffee stains and oils are cleaned before they dry hard.
- Basket rinsed: the filter holder is not holding old grounds or oily residue.
- Lids left open: removable parts can dry when the manual allows it.
- Exterior wiped: splashes around buttons, handles, and the warming plate are removed.
- Descale reminder set: monthly for daily use is a practical starting point unless the manual says otherwise.
When to Get Extra Help
Check the owner's manual or the manufacturer's support page if your coffee maker has a grinder, water filter, capsule system, built-in milk function, cleaning indicator, or special coating. Those details can change what you should remove, wash, soak, or avoid.
You should also pause if cleaning does not fix slow brewing, leaks, burning smells, electrical problems, or unusual noises. Those are not normal cleaning issues. Unplug the machine when safety is in question and contact the manufacturer or a qualified repair service.
Frequently Asked Questions
Should I clean my coffee maker after every use?
Clean the parts that touched coffee after each use: grounds, filter basket, reusable filter, carafe, and lid. The full machine does not need a deep clean every morning.
How often should I descale a coffee maker?
For daily brewing, monthly descaling is a practical starting point, especially with hard water. Follow your manual, clean indicator, or descaling product instructions when they are more specific.
Can I use vinegar to descale every coffee maker?
Not always. Some manufacturers allow vinegar, while others recommend a specific descaler. Check the manual first so you do not damage parts or leave lingering odor.
What if my coffee still tastes stale after cleaning?
Check the grinder, beans, water, reusable filter, and carafe lid. Stale flavor can come from old beans, oily grinder parts, trapped residue, or water that needs filtering.
Final Thoughts
The best answer to how often to clean a coffee maker at home is simple enough to repeat: small cleanup after each brew, a better wash weekly, and descaling on a monthly rhythm for daily use or whenever your machine asks for it.
Start with the next cup. Empty the grounds, wash the carafe, rinse the basket, and leave the parts open to dry. That one modest habit makes the whole coffee nook feel cleaner tomorrow morning.